

How to Transform Your Basement into a Cozy Media Room
A basement often becomes the family storage locker. Old gym equipment, holiday bins, the treadmill that moonlights as a coat rack. Clearing that space gives you a chance to build something fun, and a media room ranks high on the list of worthwhile upgrades. Below are practical steps to turn an unfinished or recently gutted basement into a spot everyone wants to use.
✔️ Use the Empty Shell to Your Advantage
Read More
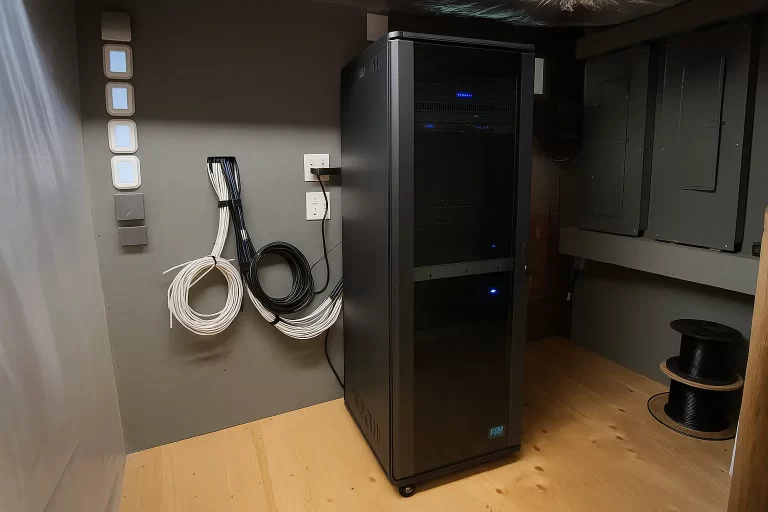
If the walls are open, now is the time to plan. Pre-wiring for video, speakers, and internet while studs are exposed is faster, cleaner, and cheaper than fishing cables later. Pull extra lines for future upgrades so new gear never means cutting fresh holes.
✔️ Plan the Layout before You Buy a Screen
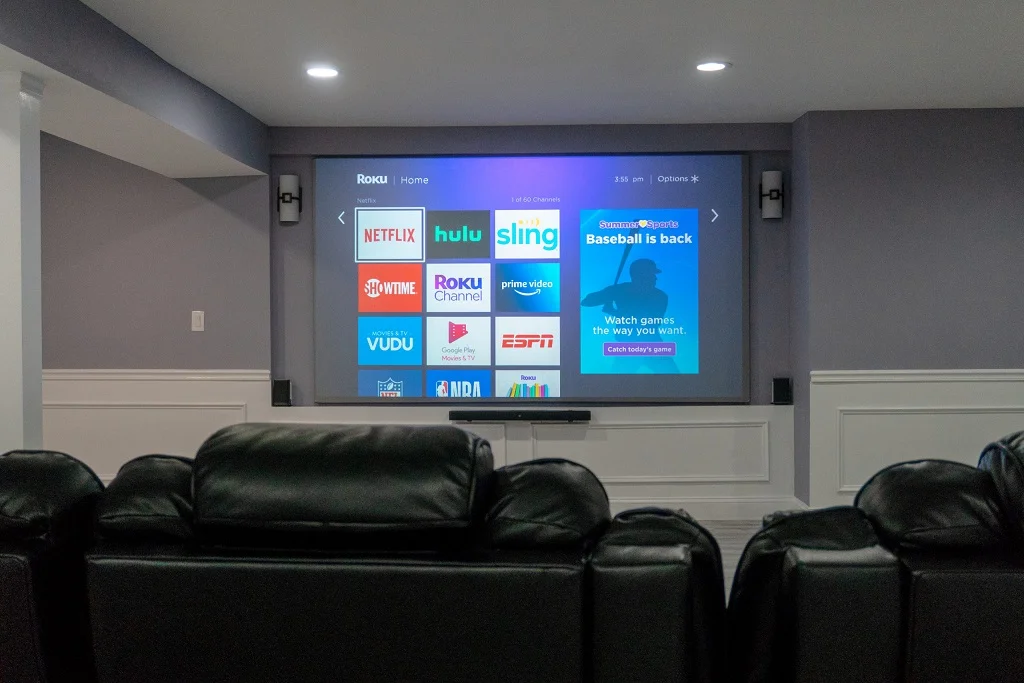
Measure the viewing distance, then choose a television or projector size that makes sense. A seventy-five inch set looks impressive until it sits six feet from the sofa. A projector can give you a larger image, but it needs the right throw distance and a dark-friendly wall or screen. Mark seating rows with masking tape, step back, and confirm sight lines before ordering anything.
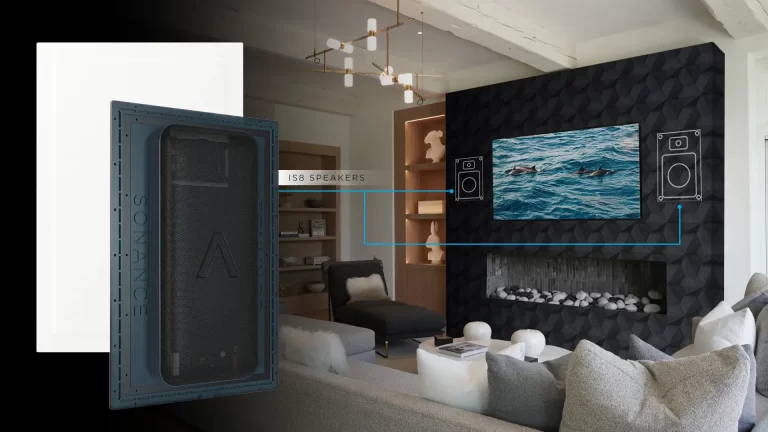
✔️ Match the Audio to the Room Size
Small dens work well with a quality soundbar and a compact subwoofer. Mid-size basements benefit from a five-speaker surround package. Bigger spaces feel more immersive with extra rear or ceiling channels. The goal is clear dialogue and balanced bass that stays in your room rather than rumbling upstairs.
✔️ Treat the Space, Not Just the Equipment
Open studs give easy access for insulation or acoustic panels. Soft surfaces on side walls tame echoes and improve clarity more than turning the volume up. Carpeting or a large rug on the floor also helps.
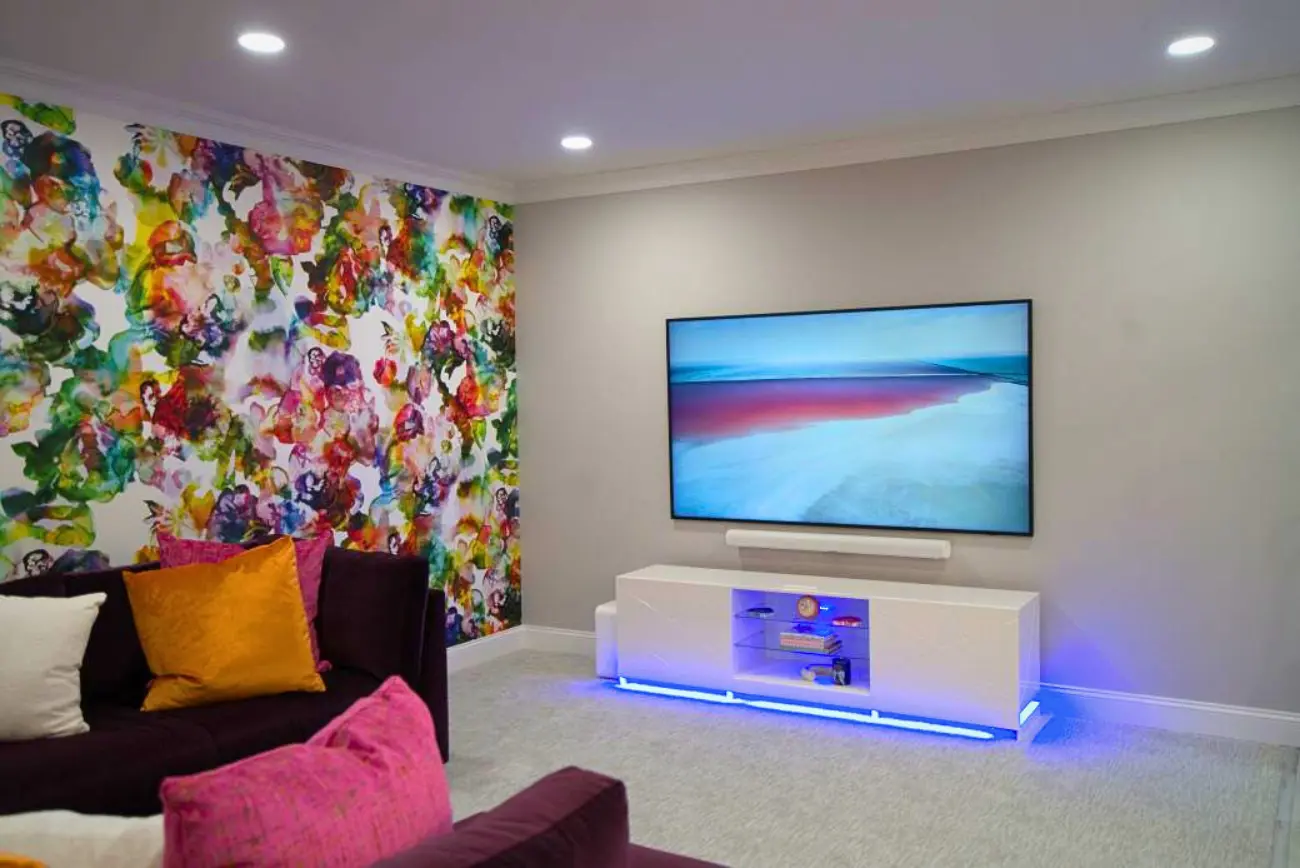
✔️ Choose Lighting That Works with Screens
Recessed ceiling cans on dimmers prevent glare and let you dial brightness for movie mode. Add low-level path lights along steps so guests find their seat without tripping when the main lights drop.
✔️ Keep Gear Cool and Organized
Place receivers, streaming boxes, and game consoles in a ventilated cabinet or closet. Good airflow extends equipment life and a labelled shelf system keeps cables tidy. If your basement tends to run warm, consider a quiet fan to pull heat away from the stack.
✔️ Simplify Control
Program a single remote or tablet app that turns on the display, selects the correct input, and sets lights to the right scene. Anyone in the family can press one button and start watching instead of juggling multiple remotes.
✔️ Create a Seating Plan People Will Actually Use
Recliners with built-in cup holders look incredible in catalogs but eat floor space. A sectional sofa with a couple of pillowy ottomans often seats more people and doubles as a lounge for gaming nights. Sketch the furniture footprint before purchasing.
✔️ Think Ahead About Ventilation and Flooring
Basements can feel damp. A small dehumidifier and hard flooring with an area rug keep the room comfortable year-round. If your remodel adds a new bathroom nearby, confirm ventilation so humidity stays out of the media area.
✔️ Budget for Comfort Items
A mini-fridge or snack bar saves trips upstairs. A small storage cabinet hides extra controllers and remotes. These touches sound minor until guests raid the kitchen during a key scene.
A media room is a big investment, whether you spend five thousand or fifty thousand. Planning wiring, layout, and comfort details while the room is still open saves headaches later. Hire an experienced team that will measure twice, wire once, and leave you with a finished space that works the first time you hit play.

Featured Today
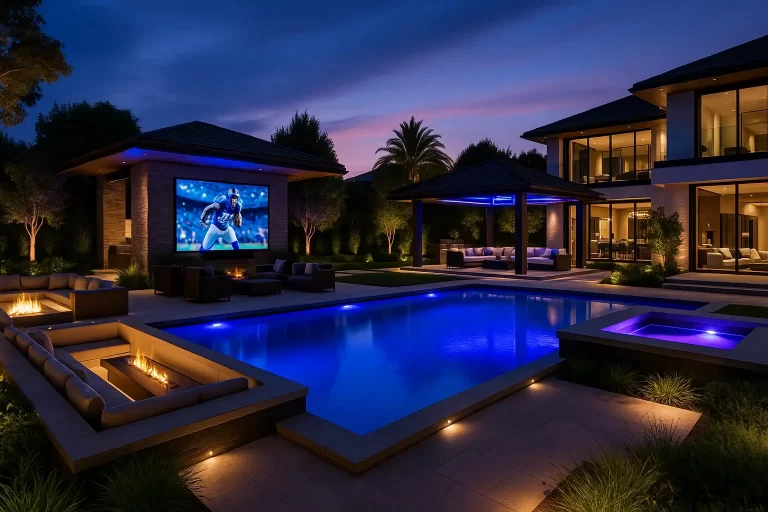
Tips for Choosing an Outdoor AV System
Awesome tips on how to get your dream backyard properly set up.